Connect Cloudflare to track AI crawlers — nightly pull, Worker, or Logpush — and confirm data is flowing.
Last updated
Connect Cloudflare to see which AI crawlers fetch your content — GPTBot, ClaudeBot, PerplexityBot and more. This guide covers each connection method and how to confirm data is flowing. Available on Pro and above. Start from Settings → Connections → Cloudflare.
| Method | Best for | Cloudflare plan | Per-page data |
|---|---|---|---|
| Nightly pull | The fastest start — no code | Pro and above | No |
| Worker | Real-time tracking with per-page detail | Any plan | Yes |
| Logpush | Enterprise sites that prefer no Worker | Enterprise | Yes |
You only need one.
Paste a scoped Cloudflare API token and Vizzybl pulls your crawler traffic once a day.
The card validates the token immediately — if it can't read your zone, you'll see an error explaining what to fix.
Deploy a tiny Cloudflare Worker that reports crawler hits to Vizzybl. It only sends request metadata (user agent, method, host, page path, response status, and size) — never query strings, cookies, page content, or visitor IPs — and it never slows your site down.
Step 1 — Generate credentials. In the Cloudflare card, choose Worker and click Generate Worker credentials.
Step 2 — Create the Worker. In Cloudflare, open Workers & Pages → Create → Worker, give it a name, and deploy the starter.
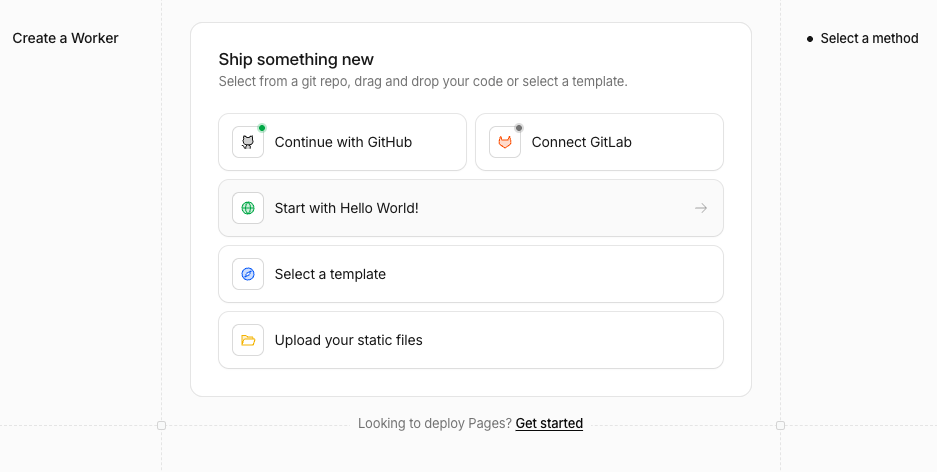
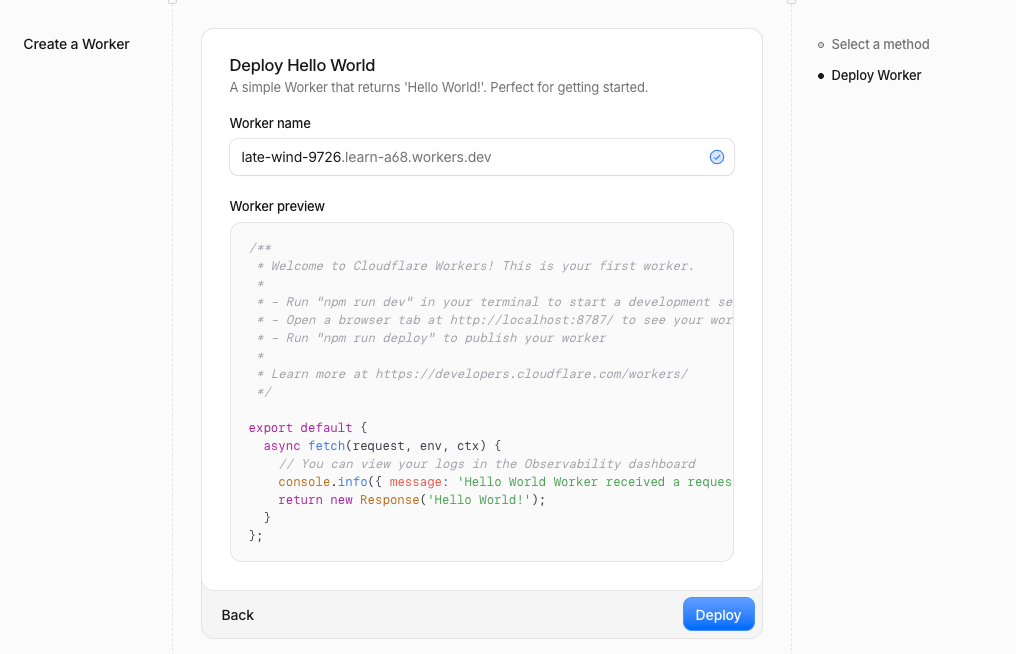
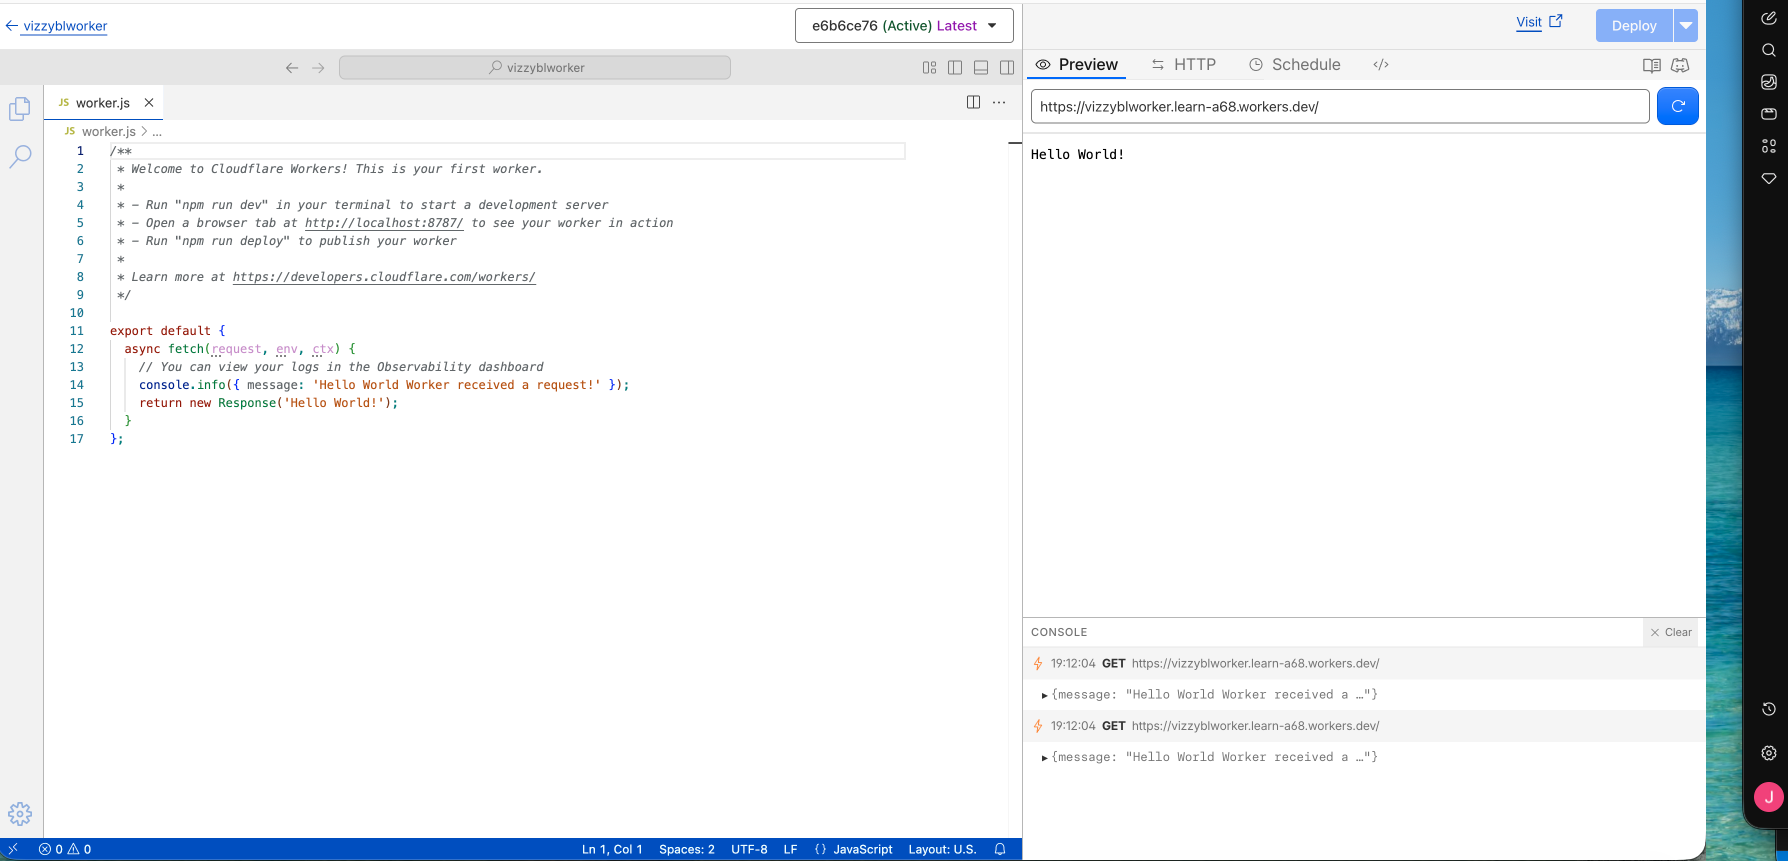
Step 3 — Paste the beacon code. Open Edit code, delete the starter code, and paste this exactly:
// Known AI crawlers — we only beacon these (Vizzybl re-checks server-side)
const AI_UA = /(GPTBot|OAI-SearchBot|ChatGPT-User|ClaudeBot|Claude-SearchBot|Claude-User|anthropic-ai|PerplexityBot|Perplexity-User|Google-Extended|Google-CloudVertexBot|Bytespider|Applebot-Extended|Amazonbot|meta-externalagent|meta-externalfetcher|FacebookBot|CCBot|cohere-ai|DuckAssistBot|MistralAI-User|bingbot)/i;

export default {
  async fetch(request, env, ctx) {
    // Capture the time NOW, before any await (Cloudflare freezes Date.now() after the first await)
    const ts = Date.now();
    const url = new URL(request.url);

    // Don't process the Worker's own beacon POST to Vizzybl
    if (env.VIZZYBL_INGEST_URL && request.url.startsWith(env.VIZZYBL_INGEST_URL)) {
      return fetch(request);
    }

    const ua = request.headers.get('user-agent') || '';

    // Serve the visitor immediately — never block on the beacon
    const response = await fetch(request);

    if (env.VIZZYBL_INGEST_URL && env.VIZZYBL_SITE_TOKEN && AI_UA.test(ua)) {
      const bytes = Number(response.headers.get('content-length') || '0') || 0;

      // These exact field names + a numeric epoch-ms ts are what Vizzybl requires
      const body = JSON.stringify({
        ua,
        method: request.method,
        host: url.host,
        path: url.pathname,
        status: response.status,
        bytes,
        ts,
      });

      ctx.waitUntil(
        fetch(env.VIZZYBL_INGEST_URL, {
          method: 'POST',
          headers: {
            'content-type': 'application/json',
            authorization: 'Bearer ' + env.VIZZYBL_SITE_TOKEN,
          },
          body,
        }).catch(() => {})
      );
    }

    return response;
  },
};
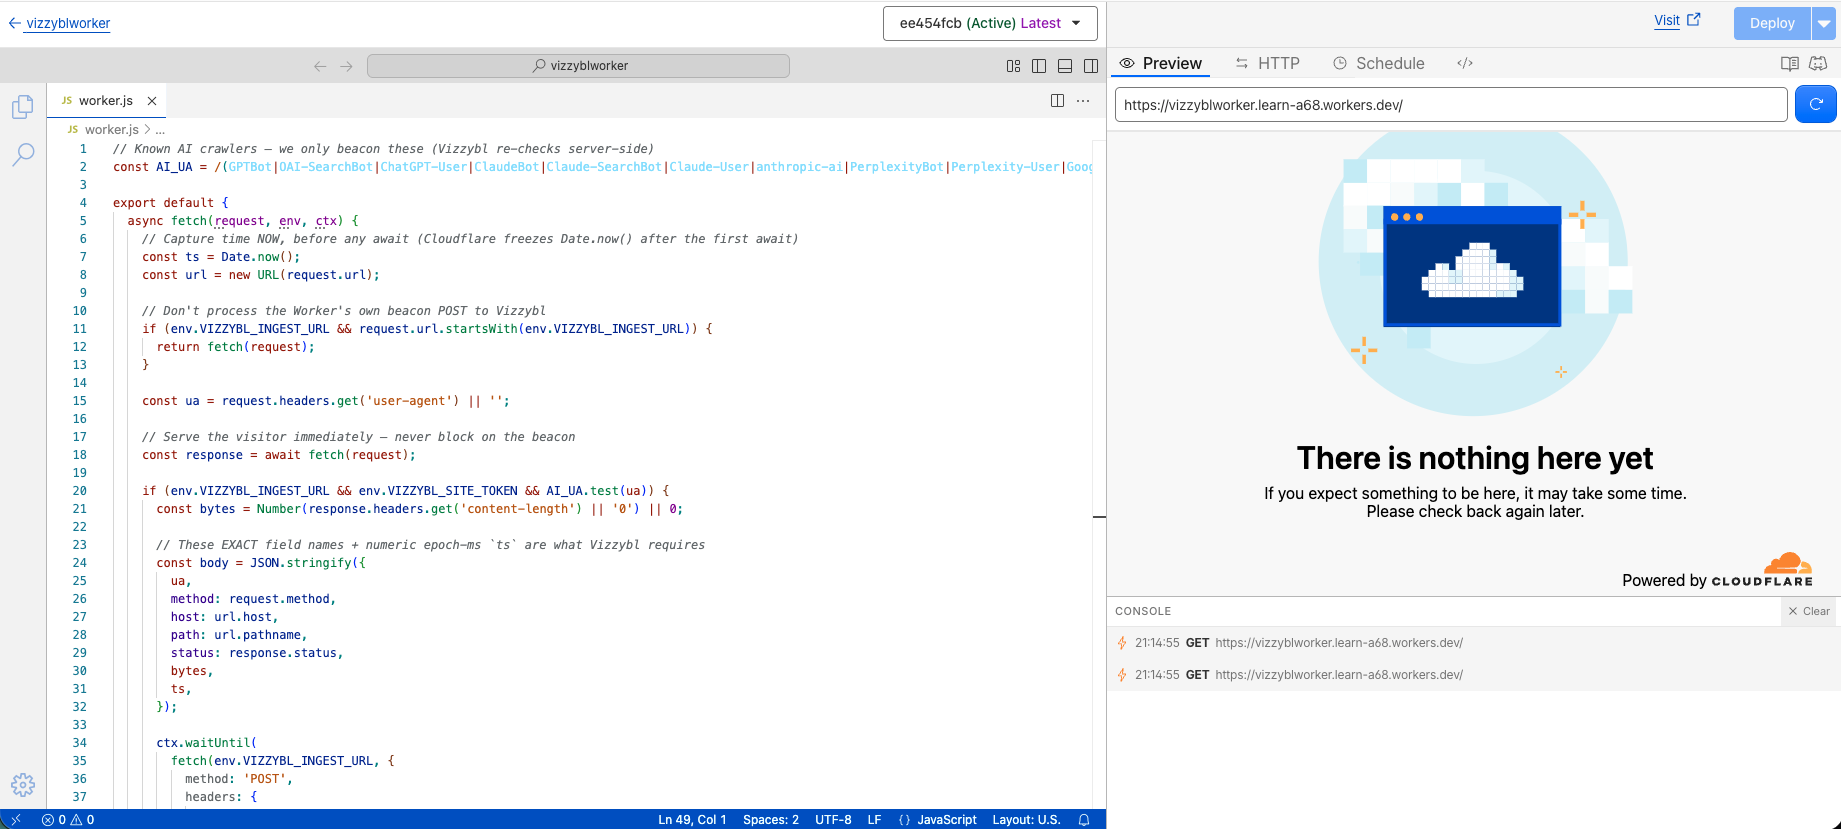
Use it as-is — the field names and the numeric ts (epoch milliseconds) are exactly what Vizzybl's API expects. A hand-written or AI-generated snippet will almost always send the wrong fields (for example timestamp instead of ts, or userAgent instead of ua) and silently fail — see Troubleshooting.
Step 4 — Add the two variables. In Settings → Variables, add VIZZYBL_INGEST_URL and VIZZYBL_SITE_TOKEN — both shown on the Cloudflare card.
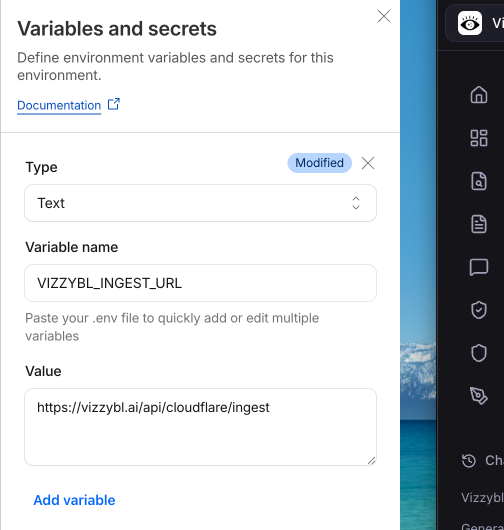
Step 5 — Add a route. Add a Route so the Worker runs on your crawlable content (see "Choosing the route" below).
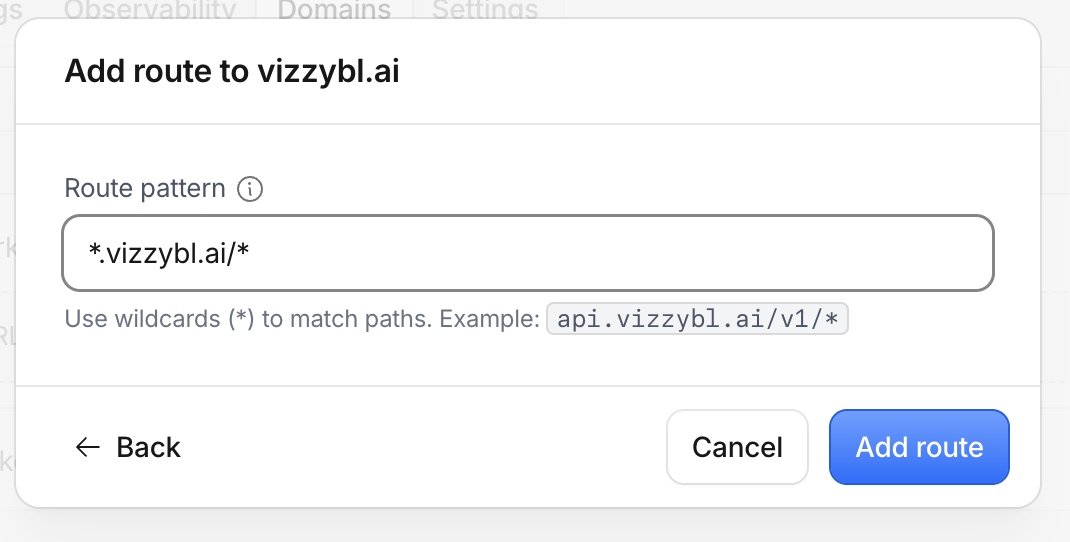
The route must cover the hostnames where your public, crawlable pages live.
*yourdomain.com/* — covers the apex domain and every path beneath it*.yourdomain.com/* — covers subdomains (like www) but not the bare apexIf your pages are served on both yourdomain.com and www.yourdomain.com, add a route that covers both. The Worker only sees traffic on the hosts its route matches.
On Cloudflare Enterprise you can point a Logpush job at Vizzybl instead of running a Worker.
Crawler hits are aggregated once a day, so the AI Crawlers view fills in within about 24 hours of connecting — this is normal, not a fault. The nightly pull works the same way.
To confirm a Worker or Logpush connection is working right now, send a test hit and check for a 202 response. Replace the URL and token with the values from your card, and set ts to the current time in milliseconds:
curl -i -X POST "VIZZYBL_INGEST_URL" -H "authorization: Bearer VIZZYBL_SITE_TOKEN" -H "content-type: application/json" -d '{"ua":"GPTBot/1.1","method":"GET","host":"yourdomain.com","path":"/","status":200,"bytes":100,"ts":1751000000000}'
A 202 means the hit was accepted. (On macOS or Linux, date +%s000 prints the current time in milliseconds.)
This is almost always a payload mismatch — the Worker is sending fields the endpoint doesn't recognise. It happens when the Worker code was hand-written or generated by another tool instead of copied from the Cloudflare card. The endpoint expects exactly these JSON fields — ua, method, host, path, status, bytes, and ts — and ts must be a number in epoch milliseconds, not an ISO date string. A request that sends timestamp instead of ts, or userAgent instead of ua, is rejected before anything is stored. Fix: replace your Worker code with the exact snippet on the connection card.
Run the curl test above and read the status code:
| Response | Meaning | What to do |
|---|---|---|
| 202 | Accepted — ingest is working | Nothing. Data appears after the daily aggregation. |
| 400 | Bad payload — usually ts missing or not a number in milliseconds | Use the card's snippet; send ts as epoch ms. |
| 204 | The user agent wasn't recognised as an AI bot | Check you sent the ua field with a real crawler user agent. |
| 401 | Site token invalid, or the connection was disconnected/rotated | Re-open the card, click Generate Worker credentials again, and update the Worker variable. |
| 404 | The ingest endpoint isn't reachable at that URL | Confirm VIZZYBL_INGEST_URL matches the value on the card exactly. |
| 429 | Rate limited | Back off; this is protective and self-heals. |
Your Worker Route doesn't cover every crawlable hostname. Add a route for each host (apex, www, and any subdomains) where public content lives. See "Choosing the route" above.
Open the Cloudflare card — if the status shows needs reauthorisation, your API token was revoked or lost access to the zone. Create a fresh token with Zone · Analytics · Read and reconnect.